Canned Pumpkin Recipes
When you think about canned pumpkin, it’s easy to envision just pies and lattes, but there’s so much more you can create with this ingredient. You can enhance savory dishes like soups or stews, or whip up something sweet like pumpkin bread or cheesecake bars. Each recipe offers a unique way to embrace the rich, earthy flavor of pumpkin. As you consider your next culinary adventure, you might wonder how to incorporate this seasonal staple into your meals in unexpected ways. The possibilities may surprise you.
Why You’ll Love This Recipe
When you immerse yourself in canned pumpkin recipes, you’ll quickly discover a world of delicious possibilities that are both nutritious and easy to prepare.
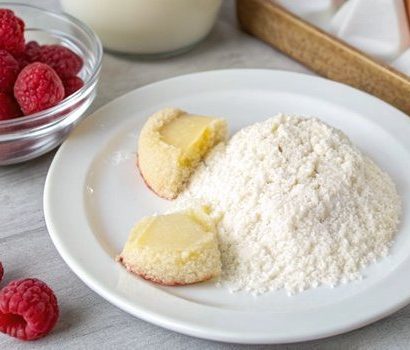
Canned pumpkin is packed with beta carotene, providing over 200% of your daily vitamin A in just one cup. This nutrient supports your eye health and immune function. With about 7 grams of fiber per cup, it helps keep your digestion regular while also balancing blood sugar levels. Additionally, canned pumpkin is rich in antioxidants, which can help combat oxidative stress in the body.
You’ll love the versatility of canned pumpkin. It can be added to your favorite baked goods, like muffins and pies, or blended into soups and lattes for an extra nutritional boost. Breakfast becomes a treat when you mix pumpkin puree into your oatmeal, adding flavor and health benefits.
Canned pumpkin is low in fat and cholesterol, making it a great choice for a healthy diet. It’s also low in sodium, which is perfect if you need to watch your salt intake.
Plus, it’s safe for your furry friends, providing essential vitamins without harmful additives. So, whether you’re baking or cooking, canned pumpkin can enhance your meals in a nutritious and tasty way.
History
Canned pumpkin has a rich history that traces back to early American cookbooks, where recipes for pumpkin pudding first emerged. These recipes often included ingredients like stewed and strained pumpkin, eggs, sugar, cream or milk, and spices such as ginger, mace, and nutmeg.
As the 19th century progressed, the canning industry expanded rapidly, making canned pumpkin more accessible and convenient for home cooks. This shift changed how people made pumpkin pie, as canned pumpkin was seen as safer than home-canned options. Additionally, the popularity of canned pumpkin can be attributed to its nutritional benefits, making it a favored ingredient in various seasonal recipes.
The first canning factory opened in Eureka, Illinois, in 1895, eventually becoming part of Libby’s operations in the late 1920s. By the 1920s, canned pumpkin dominated the market, becoming a staple in seasonal cooking. Large quantities of pumpkins were grown specifically for canning, with fields yielding up to 20 tons per acre.
Morton, Illinois, emerged as the “Pumpkin Capital,” with Libby’s factory processing 90% of the world’s canned pumpkin. The town celebrates its pumpkin heritage with a Fall Festival, showcasing the cultural significance and community pride tied to the pumpkin canning industry.
This legacy continues to impact recipes and traditions today.
Recipe
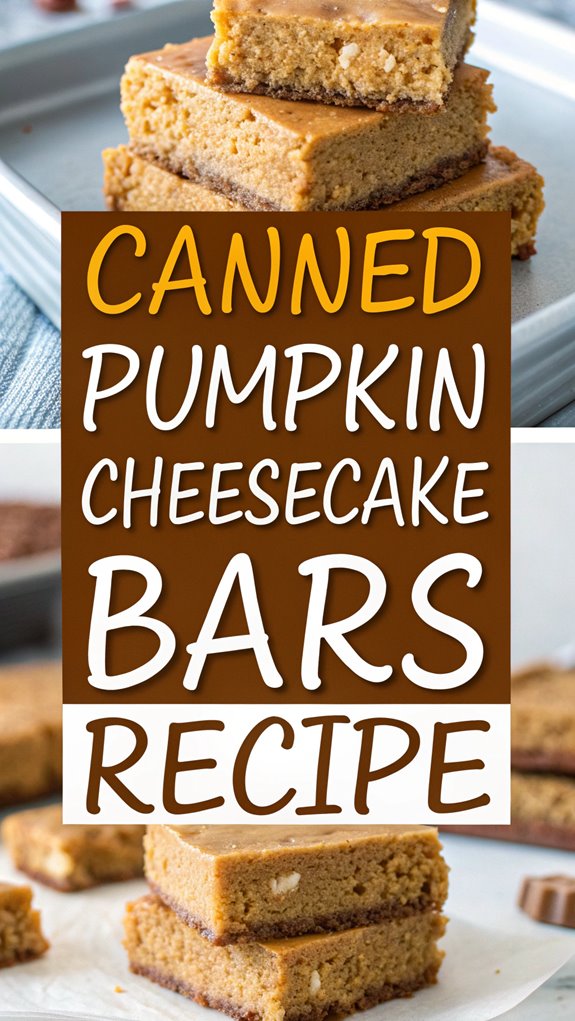
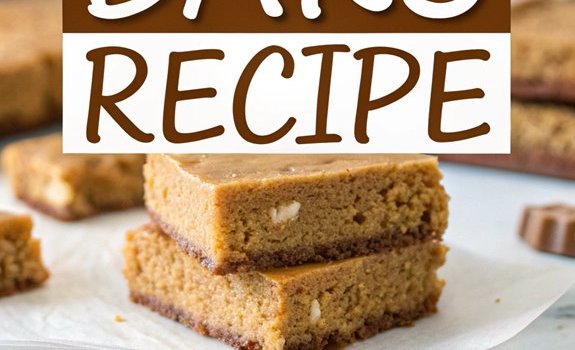
Canned Pumpkin Cheesecake Bars Recipe
Canned pumpkin cheesecake bars are a delightful treat that perfectly blends the flavors of pumpkin and cream cheese, making them an excellent choice for fall gatherings or Thanksgiving dessert tables. These bars are easy to prepare and can be made ahead of time, allowing you to enjoy the festivities without the last-minute rush in the kitchen. The creamy pumpkin filling sits atop a buttery, crumbly crust, all topped with a delicious crumb topping that adds a delightful crunch. To elevate the flavors, you can incorporate seasonal spices like cinnamon, nutmeg, and ginger, which complement the pumpkin beautifully. In addition to their delicious taste, canned pumpkin is also high in vitamins A, E, and C, providing a nutritious boost to your dessert. Serve these bars chilled or at room temperature; either way, they’re sure to be a hit with friends and family. Enjoy them alongside a warm cup of coffee or tea for the perfect fall dessert experience.
Ingredients:
– 1 ½ cups graham cracker crumbs
– ½ cup unsalted butter, melted
– 1 tablespoon sugar
– 1 (8 oz) package cream cheese, softened
– 1 cup canned pumpkin
– ½ cup sugar
– 2 large eggs
– 1 teaspoon vanilla extract
– 1 teaspoon ground cinnamon
– ½ teaspoon ground nutmeg
– ¼ teaspoon ground ginger
– ½ cup flour
– ½ cup rolled oats
– ¼ cup brown sugar
– ¼ teaspoon salt
Cooking Instructions:
- Preheat your oven to 350°F (175°C). Grease a 9×13 inch baking dish or line it with parchment paper for easy removal of the bars.
- In a medium bowl, combine the graham cracker crumbs, melted butter, and sugar. Mix until the crumbs are evenly coated. Press the mixture firmly into the bottom of the prepared baking dish to form a crust.
- In a large mixing bowl, beat the softened cream cheese until smooth. Add in the canned pumpkin, sugar, eggs, vanilla extract, and spices (cinnamon, nutmeg, and ginger). Mix until fully combined and creamy.
- Pour the pumpkin cheesecake mixture over the crust, spreading it evenly with a spatula.
- In another bowl, mix together the flour, rolled oats, brown sugar, and salt. Sprinkle this mixture over the pumpkin filling to create a crumb topping.
- Bake in the preheated oven for 25-30 minutes, or until the center is set and the edges are lightly browned. Allow the bars to cool completely in the pan before cutting them into squares.
- Once cooled, refrigerate the bars for at least 2 hours to help them firm up before serving.
Extra Tips:
For an added touch, consider drizzling these pumpkin cheesecake bars with caramel sauce or serving them with a dollop of whipped cream. You can also customize the spices according to your personal preference or add a pinch of ground cloves for an extra layer of flavor. These bars can be stored in the refrigerator for up to a week, making them a convenient dessert option to have on hand.
Final Thoughts
As the fall season rolls in, it’s the perfect time to embrace the culinary versatility of pumpkin. Canned pumpkin isn’t only convenient but also packed with nutritional benefits. It’s rich in vitamins A, C, and K, fiber, and antioxidants, contributing to heart health and overall wellness. Using canned pumpkin in your recipes can help you enjoy these health benefits easily. Additionally, pumpkin is a good source of potassium, which aids in muscle function and blood pressure regulation.
You can incorporate canned pumpkin into a variety of dishes, from soups and muffins to pies and lattes. It’s easy to add to both sweet and savory meals, making it a fantastic ingredient for any cook.
If you prefer, you can also make your own pumpkin puree by roasting fresh pumpkins, and store it in the freezer for later use.
Whether you buy canned pumpkin or make your own, it’s a low-calorie option that enhances your meals while supporting digestion and skin health.
Remember, pumpkin isn’t just for humans! It can also be a nutritious treat for dogs.
FAQ
Whether you’re a seasoned cook or new to using canned pumpkin, you might’ve questions about its storage, nutritional benefits, and best ways to incorporate it into your meals.
Canned pumpkin can last 3-5 years unopened if stored in a cool, dry place. Once you open a can, transfer any unused pumpkin to an airtight container and refrigerate it at 40°F (4°C) or below. If you need to store it longer, freeze the leftovers in a freezer-safe container for up to 3 months.
Nutritionally, canned pumpkin is low in calories, with just 5 calories per tablespoon. It’s mainly carbohydrates, with a good amount of fiber, potassium, and vitamin A. Additionally, using fresh purée can enhance flavor and nutrition compared to canned options.
To get the right consistency for your recipes, you may need to adjust moisture levels. Use a sieve to drain excess liquid or simmer it on low heat. Always check for spoilage signs like bulging cans or off odors before using.
If you want to make homemade pumpkin puree, roast or boil pumpkin until tender, then blend it until smooth. Enjoy experimenting with this versatile ingredient!
Canned Pumpkin Recipes
Ingredients
- Ingredients:
- - 1 ½ cups graham cracker crumbs
- - ½ cup unsalted butter melted
- - 1 tablespoon sugar
- - 1 8 oz package cream cheese, softened
- - 1 cup canned pumpkin
- - ½ cup sugar
- - 2 large eggs
- - 1 teaspoon vanilla extract
- - 1 teaspoon ground cinnamon
- - ½ teaspoon ground nutmeg
- - ¼ teaspoon ground ginger
- - ½ cup flour
- - ½ cup rolled oats
- - ¼ cup brown sugar
- - ¼ teaspoon salt
Instructions
- Cooking Instructions:
- Preheat your oven to 350°F (175°C). Grease a 9x13 inch baking dish or line it with parchment paper for easy removal of the bars.
- In a medium bowl, combine the graham cracker crumbs, melted butter, and sugar. Mix until the crumbs are evenly coated. Press the mixture firmly into the bottom of the prepared baking dish to form a crust.
- In a large mixing bowl, beat the softened cream cheese until smooth. Add in the canned pumpkin, sugar, eggs, vanilla extract, and spices (cinnamon, nutmeg, and ginger). Mix until fully combined and creamy.
- Pour the pumpkin cheesecake mixture over the crust, spreading it evenly with a spatula.
- In another bowl, mix together the flour, rolled oats, brown sugar, and salt. Sprinkle this mixture over the pumpkin filling to create a crumb topping.
- Bake in the preheated oven for 25-30 minutes, or until the center is set and the edges are lightly browned. Allow the bars to cool completely in the pan before cutting them into squares.
- Once cooled, refrigerate the bars for at least 2 hours to help them firm up before serving.
- Extra Tips:
- For an added touch, consider drizzling these pumpkin cheesecake bars with caramel sauce or serving them with a dollop of whipped cream. You can also customize the spices according to your personal preference or add a pinch of ground cloves for an extra layer of flavor. These bars can be stored in the refrigerator for up to a week, making them a convenient dessert option to have on hand.